
Simple Upgrades That Make Your Garage Workbench More Functional
If your garage workbench is where projects come to life, with all the repairs, experiments, messes, and wins that come with them, then you know how much the setup matters. Over the years, I’ve truly learned that how you set up your bench determines whether a job flows or flops.
I’ve seen countless homeowners struggle with cluttered, inefficient garage workbench setups, and I know firsthand how a few simple upgrades can make everything smoother, faster, and more enjoyable. Whether you're into woodworking, car repair, crafting, or just like having a dedicated place to fix stuff, you deserve a workbench that supports you.
Here are some doable changes you can make to optimize your garage workbench:
- Go vertical to clear the clutter
- Fix the chaotic, cluttered drawers
- Don’t settle for a wimpy work surface
- Brighten things up
- Give your tools the power they need
- Make your workspace move and grow with you
- Think about your body, not just your tools
- Finish strong with a few personal touches
Keep reading for the tips I always recommend to new clients and DIYers looking to seriously upgrade how their garage workbench works for them.
Go Vertical to Clear the Clutter
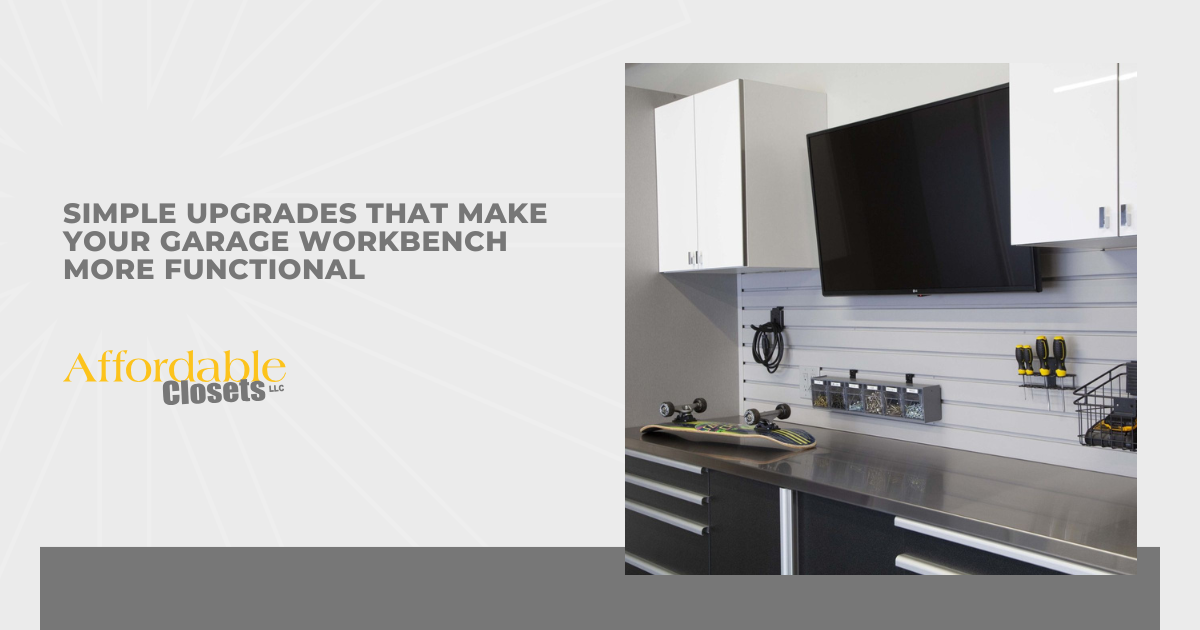
One of the quickest, cleanest ways to make your workbench more functional is to free up the top of it. Most benches get buried under tools because there’s nowhere else for them to go, but with vertical storage, that can become a thing of the past.
Mount slatwall system just above your bench and you’ll suddenly find your tools in plain sight, not buried under a rag and half a bag of zip ties. I’ve built out systems where drills, clamps, hammers, and measuring tapes all had a home, right at eye level. Add some shelving higher up for things you don’t need daily. You’ll be amazed how much breathing room it gives your workspace.
You’ll quickly see that every time you reach for a tool, it’s right there. It’s efficient and oddly satisfying. It’s also time-saving.
Fix the Chaotic, Cluttered Drawers
You might have drawers in your workbench. But do they help you, or just hide your frustration?
I’ve opened hundreds of workbench drawers over the years and most look like a metal junk drawer. Tossing everything in without a system slows you down and adds stress. It doesn’t have to be that way.
Add simple drawer organizers or dividers. Use bins for screws, nails, bits, blades, and tiny parts that love to go missing. Label them clearly. Even masking tape and a marker can work in a pinch. I’ve built out full drawer systems for clients using nothing but cheap plastic containers and a bit of logic. It’s worth the investment.
Don’t Settle for a Wimpy Work Surface
The top of your garage workbench takes a beating. If it’s wobbly, warped, or too soft, it’s time for an upgrade. One of the biggest changes you can make is swapping in the right work surface for your style of projects. Here are my go-to workbench surface materials:
- Hardwood (Like Maple or Oak): Durable and solid, hardwood gives you a smooth, stable surface that absorbs shock well. It’s perfect for fine woodworking, assembly, and even mechanical work where you don’t want metal-on-metal contact.
- Butcher Block: Similar to hardwood, but this material has a bit more aesthetic polish. It’s a great option if you want something that looks clean but still works hard. I often recommend this for people who use their benches for multi-purpose work.
- Stainless Steel: Tough, easy to clean, and heat-resistant. I install stainless steel tops for anyone doing heavy-duty mechanical, electrical, or messy work like oil changes or engine repair.
- Plywood With a Replaceable Hardboard Top: For budget-conscious folks, this setup works surprisingly well. When the top gets dinged up, you just unscrew and replace the hardboard layer. Simple and smart.
Match the surface to your needs, and you’ll instantly notice a difference in your workspace.
Brighten Things Up
I can't overstate how much better your workbench becomes when you stop working in the shadows. Garage lighting is usually an afterthought, but it certainly shouldn't be. Here’s what proper lighting around your workbench does for you:
- Improves Precision: You’ll make cleaner cuts, straighter lines, and tighter fits when you can actually see what you’re doing. No more guessing where the pencil mark is.
- Reduces Eye Strain: Squinting under a dim bulb wears you out fast. Good lighting lets you work longer and more comfortably.
- Creates a Better Vibe: Let’s be honest, bright spaces feel better to be in. Task lighting or LED strips can make your workbench feel more like a creative zone than a dungeon.
Whether you mount a clamp-on lamp, overhead LED, or go all out with under-shelf lighting, the upgrade pays off immediately. It also makes your space safer.
Give Your Tools the Power They Need
One of the most underrated workbench upgrades is power. I can’t tell you how many times I’ve seen someone run an extension cord from across the garage, then trip over it 30 minutes later. If your workbench doesn’t have built-in power access, it’s time. You can install:
- A power strip under the lip of the work surface.
- A surge protector with USB ports mounted on the wall.
- A recessed outlet box on the side or back of the bench.
Just be mindful of safety. Keep cords away from wet areas. If you’re wiring anything permanent, get help or hire a pro. But having power right where you need it makes using your garage workbench faster, cleaner, and much less frustrating.
Make Your Workspace Move and Grow With You
A garage is rarely just a garage. It can be a lot of things, from a gym to a workshop, a tool shed to a mudroom. So, your workbench needs to be flexible.
If you’re tight on space or want to keep your floor plan open, consider adding locking caster wheels to your bench. I’ve built plenty of rolling benches that park neatly when you’re done, then glide out for action. Just make sure to use heavy-duty wheels that lock securely.
You can also add folding side tables or extensions. These are clutch when you’re working on something long or awkward, like a door or a sheet of plywood. Flip them up when you need them, drop them down when you don’t. The more adaptable your bench is, the more likely you are to actually use it.
Think About Your Body, Not Just Your Tools
You might not notice it right away, but your back, knees, and feet will thank you for making comfort part of the plan. I learned this the hard way.
Start with a solid anti-fatigue mat in front of the bench. Especially if you spend more than an hour at a time out there, it takes pressure off your joints and keeps you working longer without that end-of-day stiffness.
Then, consider wall hooks or a rack for storing safety glasses, ear protection, gloves, and extension cords. If it’s easy to grab, you’ll actually use it. And that’s the point! True functionality goes beyond being productive. It means staying safe and pain-free while you’re doing the work you love to do.
Finish Strong With a Few Personal Touches
Once the essentials are in place, I always recommend clients add a few accessories that make the space truly their own. There are a lot of options here, so find what works for you. Some ideas include:
- Magnetic Tool Strips: Mount one above your bench and keep screwdrivers, pliers, or bits ready to go, saving time and frustration.
- Cup Holder or Water Bottle Mount: Staying hydrated during long sessions keeps you focused. And it beats leaving condensation rings all over your work surface.
- Whiteboard or Small Corkboard: Use it to jot down measurements, to-do lists, or keep track of materials you’re running low on.
- Bluetooth Speaker or Radio: A little background music keeps you motivated and makes long sanding sessions go by faster.
These small upgrades turn your garage workbench into a place you look forward to using, not just a simple surface in the garage.
Conclusion
You don’t need a full remodel to make your garage workbench more functional. A few smart upgrades can change the way you use the space. I’ve spent years helping people get more out of their garages, and the truth is simple. You don’t need a giant overhaul, just a few smart upgrades to make your workbench a space you’ll actually enjoy using. Pick one or two changes to start with and quickly see how much easier and more enjoyable your next project becomes.